LP4 Projects
LP4 Projects Resources and Tools Page
Go To BottomRating Scale
- 5 = Extremely Effective
- 4 = Very Effective
- 3 = Moderate Effective
- 2 = Slightly Effective
- 1 = Not Effective
Valuable Resources
How AMP WorksAMP is an open source HTML framework developed by the AMP Open Source Project. AMP pages are so fast they appear to load instantly. If you don't want to read the whole article, it provides you with a video that explains the topics.
How I've Improved as a Web Developer and a Person in 2019
This tutorial describes how you can improve as a Web Developer and a person in 2019. This is an excellent guide on what you can do as a Web Developer and explains them all in 14 topics!
W3Schools
W3Schools is an educational website for learning web technologies online. This web page gives step-by-step tutorials on HTML, CSS, JavaScript, jQuery, PHP, Java, Bootstrap Framework, and more! It's very good for a people who want to know how to develop and design a website.

What is Cloud Computing?
This article talks about what Cloud Computing is and what you need to know about it. There are many services involved with Cloud Computing such as SaaS (Software as a Service), IaaS (Infrastructure as a Service), PaaS (Platform as a Service), and more.

SEO Basics: Complete Beginner’s Guide to Search Engine Optimization
This guide goes throught what the meaning of SEO is and how it works. It's very important to have SEO because it will make it easier for users to find your website.

Font Awesome
This resource is great for choosing any free icons for your web page. You can also get social media icons and create them as your links.
Parallax Scrolling with CSS Animation
This is a tutorial on how to create a Parallax Scrolling site with CSS Animation.
14 essential tips for improving your web design
This article gives you 14 tips to follow to improve your web design.

Difference Between Web Designer and Web Developer
This article talks about what the difference between a Web Designer and Web Developer. It's always good to know what they both mean and how they are different.

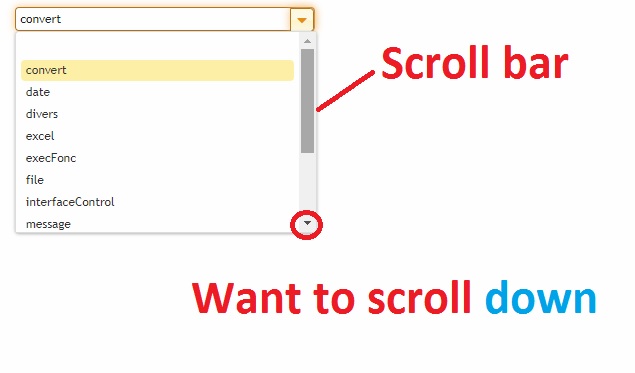
How to Add Color to your Scrollbar
This tutorial shows you how you can hide scrollbars using CSS.
How to Create a Slideshow with HTML, CSS, and JavaScript
This article explains how to create web page slideshow with images using HTML, CSS, and JavaScript.

How to Fix JavaScript Errors
This resource is a guide on how to fix errors in your JavaScript Code. It shows you tips, tricks, and resources.
FREE WEB DESIGN SOFTWARE
The CoffeeCup Free HTML Editor is a full-featured web design system. This is full of free software to use in web design.

Top 10 Best Web Development Frameworks in 2020–2021
This article talks about the Top 10 Web Development Frameworks for 2020 that use JavaScript and PHP.
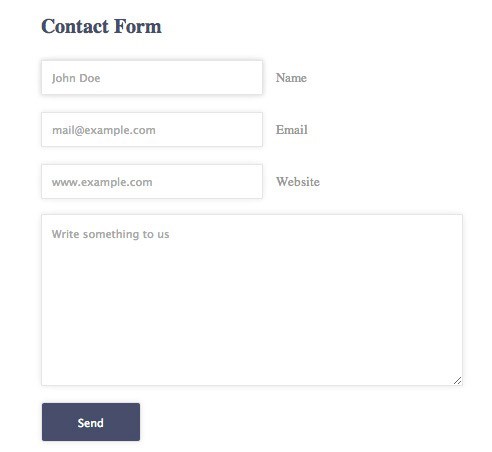
How to Create a PHP Contact Form With MySQL & HTML5 Validation
This article shows you how to create a PHP Contact Form with MySQL and HTML5. It's showing code snippets step by step.
Creating A Shopping Cart With HTML5 Web Storage
This article explains how you can create a shopping cart for an E-Commerce site and it also shows code snippets step-by-step.

Valuable Tools
Visual Studio CodeVisual Studio Code is a powerful code editor that helps you to easier find errors in your code and it's run by Microsoft for Windows, Linux, and MacOS. Features include highlighting syntax, bracket-matching, auto-indentation, box-selection, snippets, debugging support, and so much more.
WebAIM: WAVE
WAVE is a suite of evaluation tools that helps authors make their web content more accessible to individuals with disabilities. It can identify many accessibility and Web Content Accessibility Guideline (WCAG) errors, but also facilitates human evaluation of web content.

W3C Validator
If I need to know what errors I have in my html and css, I simply go to W3C Validator and chose the file I want tested. Once I click Check, you should either see if you have errors or no errors in the document. I've used W3C Validator even since I started learning Web Development and Design. It's very useful for checking code errors in HTML and CSS. All you have to do is upload your HTML and CSS file where it says Validate by File Upload or copy and paste your web page into the address bar to check if your files have any errors. I still use it to this day when uploading my web page live.

Chrome DevTools
Chrome DevTools is a set of web developer tools created by Google Chrome that helps you to edit your web pages right away and to diagnose problems that might occur. For example, if you're creating a website with JavaScript and want to check if you have any syntax errors, you can right click on your web page and select Inspect or Ctrl+Shift+I on the keyboard. Now, you can click on Console to see if there are any red highlighted errors. It will also tell you what line the error is on.

DirtyMarkUp
DirtyMarkUp is a free tool to clean up your dirty code. It is also the best HTML, CSS, and Javascript beautifier with an API to line up your code. I’ve used this tool and it is very helpful when you want to have your code clean and presentable.
How To Add a Parallax Effect To Any WordPress Theme
I just follow the tutorial on how to add a parallax effect to any WordPress theme. I installed and activated a plugin called Advanced WordPress Background for my WordPress Site. I added an image and parallax effects to it when scrolling. It was very simple to add. Here's my Parallax Scrolling Effect on my WordPress Site. The image is right above where it says Web Development and Design Techniques to Learn. I created parallax scrolling on my WordPress Page.
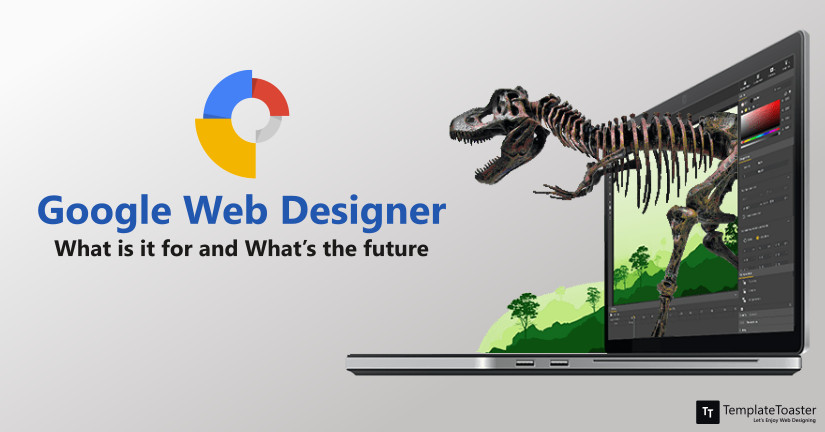
Web Designer With Google
I never knew that Google had a Web Designer tool out there. When trying it out for the first time, I realized that it's similar to Adobe Photoshop as far as choosing colors, using the tool that are on the left panel, and so on. I added very simple text with a 3D Object Rotate. I then went to the timeline on the bottom and click the plus icon to insert a thumbnail and I moved my text on some angles and made where the animation would flow together. I definitely need to use this again to create a fast and efficient web page. Here is my web page I created by using Google Web Designer. The animation is at a 3 to 4 second delay. I created THIS page from Web Designer With Google.
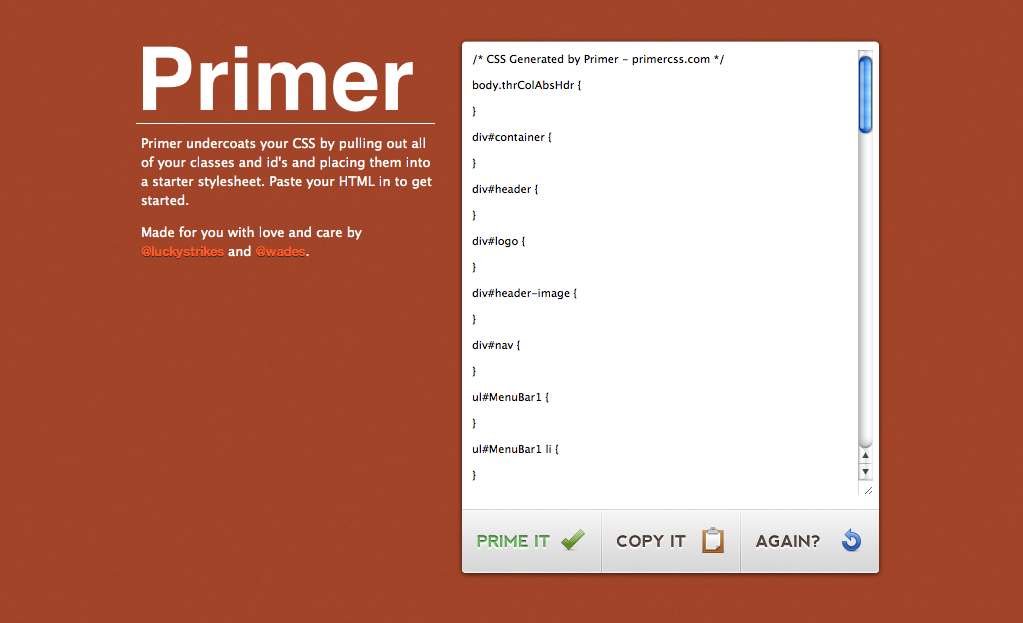
Primer CSS
When looking at Primer CSS, I saw that you can copy and paste your HTML file into the Generator. To get your CSS classes and ids, you'll need to already have them both in the HTML tags. Once I clicked "Prime It", it generated the CSS id and class for me. I was so amazed that it Primer CSS can do this for you. You can then click "Copy It" and paste into your CSS file. I think this would be great for Web Development and Design beginners because usually, we can get confused on which one is a class and an id and which one can we use more often.
App Icon Resizer
When I first tried the App Icon Resizer, I found it very simple to optimized my icon by uploading it onto the site, checked Instant icon download, chose the size I wanted it to be for Android, and clicked Download selected. I finally got my icon optimized. It case I create a company website and wanted to optimized the image icon, I would definitely use this tool to do so.
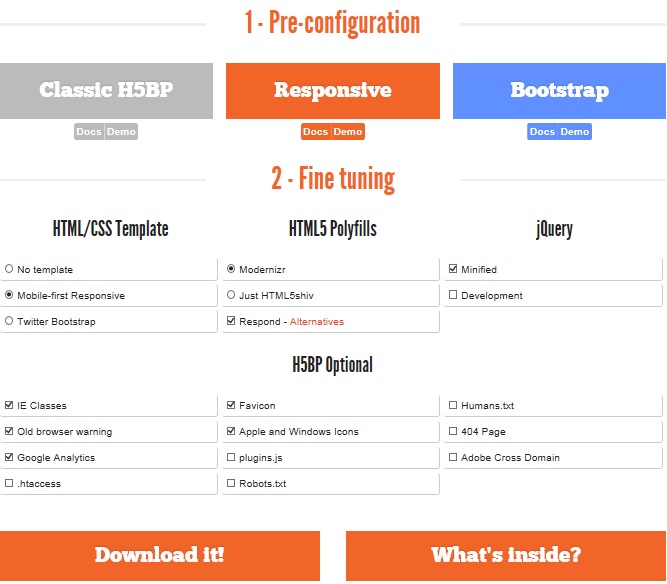
Initializr
I tried out the Initializr and chose to do my Pre-configuration on Responsive. I then chose Twitter Bootstrap for HTML/CSS Template, Modernizr, and Respond-Alternatives for HTML5 Polyfills, and Minified for jQuery. Next, I chose IE Classes, Old Browser Warning, Google Analytics, Favicon, and Apple and Windows Icons for the H5BP Option. Finally, I managed to download the files and changed the navbar-brand class from Project name to Patrick's Initializr. This site is very useful if you want to create an HTML5 Project in 15 seconds. If I want to create a web page really fast, I would definitely use this site. I created THIS page from the Initialzer.
CSS Grid Generator
CSS Grid Generator is where you can create Rows, Columns, Column Gap, and Row Gap. If you mess up on the CSS Grid Generator, you can click the "Reset grid" and it will start you over again. You can change the width and height of every column and row. When you're done, you can click "Please may I have some code" and it can give the HTML and CSS code. You can copy and paste it to your text editor and add more to it. This tool is cool and simple to use!

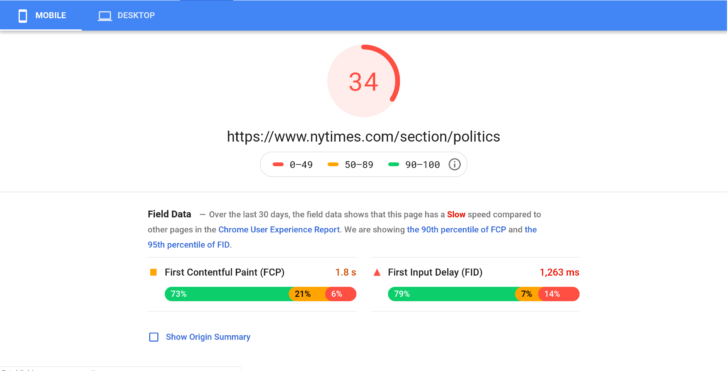
Google Page Speed Insights
All you have to do is put in your domain name and click Analyze to start testing. You will see the different page loads between Mobile and Desktop. It helps you to check how well your page loads on the browser. It shows Green at 90-100, Yellow at 50-89, and Red at 0-49. All you have to do is paste in your URL and click ANALYZE. Once when the analyzing is done, you will see your final results.
SEO Checker
This tool helps to check if you have Search Engine Optimization in your code. Paste your URL and it will give you the results and modifications you'll need to make.

LP4 Discussion Participation
In this learning plan, I learned about different resources and valuable tools to use in Web Development and Design. Throughout this learning plan, we had 12 weeks of searching for resources that are familiar to Web Development and Design and different Valuable Tools to use and play around with. There were some tools I already used in my Web courses and some that I did not use or hear about. One of the tools I used was Web Designer with Google in my LP4 Week 5 Discussion. When trying it out for the first time, I realized that it is like Adobe Photoshop as far as choosing colors, using the tools that are on the left panel, and so on. I added very simple text with a 3D Object Rotate. I then went to the timeline on the bottom and click the plus icon to insert a thumbnail and I moved my text on some angles to where the animation would flow together. I need to use this again to create a fast and efficient web page. Here is my web page I created by using Google Web Designer. The animation is at a 3 to 4-second delay. Here is the site: Patrick’s Google Web. When looking at Primer CSS, I saw that you can copy and paste your HTML file into the Generator. To get your CSS classes and id’s, you will need to already have them both in the HTML tags. Once I clicked "Prime It", it generated the CSS id and class for me. I was so amazed that its Primer CSS can do this for you. You can then click "Copy It" and paste it into your CSS file. I think this would be great for Web Development and Design beginners because usually, we can get confused about which one is a class and an id and which one can we use more often. The Coolors tool is very fun to use. You can save, remove, view shades, drag the color palettes, copy the hex color code, and toggle lock the colors. This site is very useful when you want to choose a color for your logo design and web page. WAVE Web Accessibility Checker is very useful when checking if your website passes the Web Accessibility Standards. All you must do is paste in your URL and check if there are any errors, alerts, features, and so on. I used this site in my WDIM class and I found it very helpful in knowing what I needed to fix. Another tool I also thought was amazing is the Initializer and I chose to do my Pre-configuration on Responsive. I then chose Twitter Bootstrap for HTML/CSS Template, Modernizr, and Respond-Alternatives for HTML5 Polyfills, and Minified for jQuery. Next, I chose IE Classes, Old Browser Warning, Google Analytics, Favicon, and Apple and Windows Icons for the H5BP Option. I managed to download the files and changed the navbar-brand class from Project name to Patrick's Initializr. This site is very useful if you want to create an HTML5 Project in 15 seconds. If I want to create a web page fast, I will use this site. In LP4 Week 12, my final favorite tool to use was CSS3 Generator. I like how you can choose a property to customize and add in the values you want for that specific property. I also like how you can copy and paste it into your editor to save on typing all of it. Many of these tools really stand out to me because they were tools, I was unfamiliar with. When I tried them out for the first time, they were very simple to use and I managed to try them out without any issues. I managed to know that there are more tools to use when developing and designing websites. I never knew how many tools were out there until now. I plan on using the Emerging Web Technologies and Trends by keeping myself up to date with news of what is now trending for web pages. These tools will help me to create a fast and simple web page for clients in the future. This was a great learning plan to learn different resources and tools for Web Development and Design. When I use these tools in the future, I will be more familiar with using them and create unique and fantastic websites.